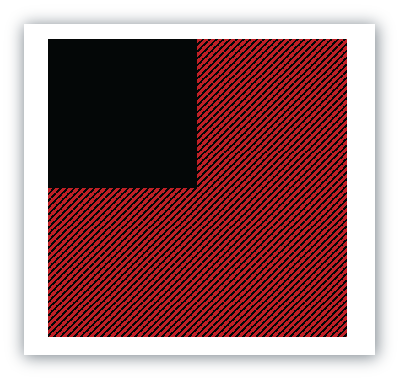
Buffalo Plaid Pattern in MS Word!
- Christie Kelly

- Oct 13, 2022
- 1 min read
Updated: Oct 15, 2022

Buffalo Plaid Pattern in Microsoft Word
1. New document
2. Insert > Shape > Rectangle

3. Draw square > Resize to 6 in. x 6 in. > Click on Format Pane

4. Line > No line
5. Text Box > All Margins to 0" > Unclick > “Wrap text in shape”

6. Fill > Pattern fill > Diagonal stripes: Wide upward > Foreground > Black > Background > Dark Red

7. Copy square > Paste > Resize to 3 in. x 3 in. > Fill > Solid fill > Black

8. Select both squares > Arrange > Align > Align Left > Arrange > Align > Align Top
9. Copy black square > Paste > Fill > Solid fill > Dark Red
10. Select large and black squares > Arrange > Group > Group
11. Select group and red square > Arrange > Align > Align Right > Arrange > Align > Align Bottom

12 Cut
13. Insert > Shape > Rectangle
14. Fill > Picture or texture fill > Click “Tile picture as texture” > Scale X > 20% > Scale Y > 20

Note: Sometimes you follow all the steps and there may be a line off or something might not look quite right. It’s not you, the program can just be a little finicky sometimes, so best to go back a few steps or start a new document and try again.
Please help me get to 1000 subs on YouTube by subscribing there!
Happy Designing! ;) ck


Comments